Auto attendants let people call your organisation and navigate a menu system to speak to the right department, call queue, person, or an operator. You can create auto attendants for your organisation with the Microsoft Teams Admin Centre, or with PowerShell. This guide will assist with the setup through the Admin Center.
Note: For this configuration to work correctly you will need numbers assigned to your Tenant and a teams calling plan enabled.
STEPS FOR CONFIGURING A TEAMS AUTO ATTENDANT
1. Log in to the Global admin account and access the Teams Admin Centre
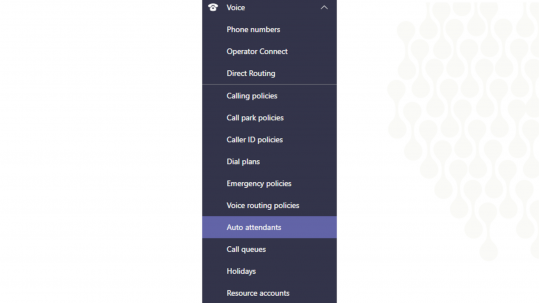
2. Select Voice > Auto Attendants
3. Add new Auto Attendant
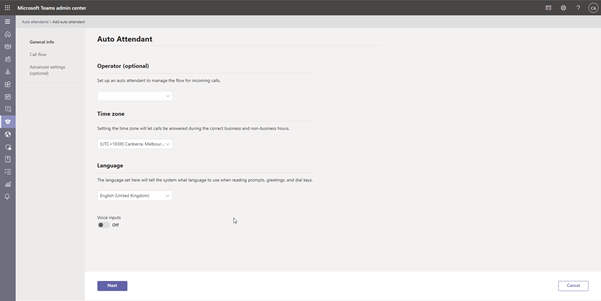
4. Create a name for Auto Attendant
5. If there is an operator in the organisation configure that
6. Set the Time Zone
7. Select Language
8. If required Enable Voice inputs and select Next
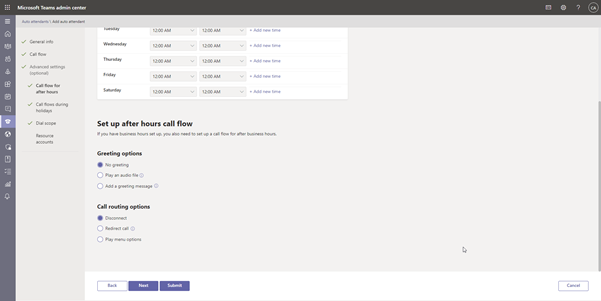
9. Set Greeting options

10. Select Call routing options
Configure Menu options > Assign a dial key. Dial Keys can be used to direct to individual users or call queues depending on department.
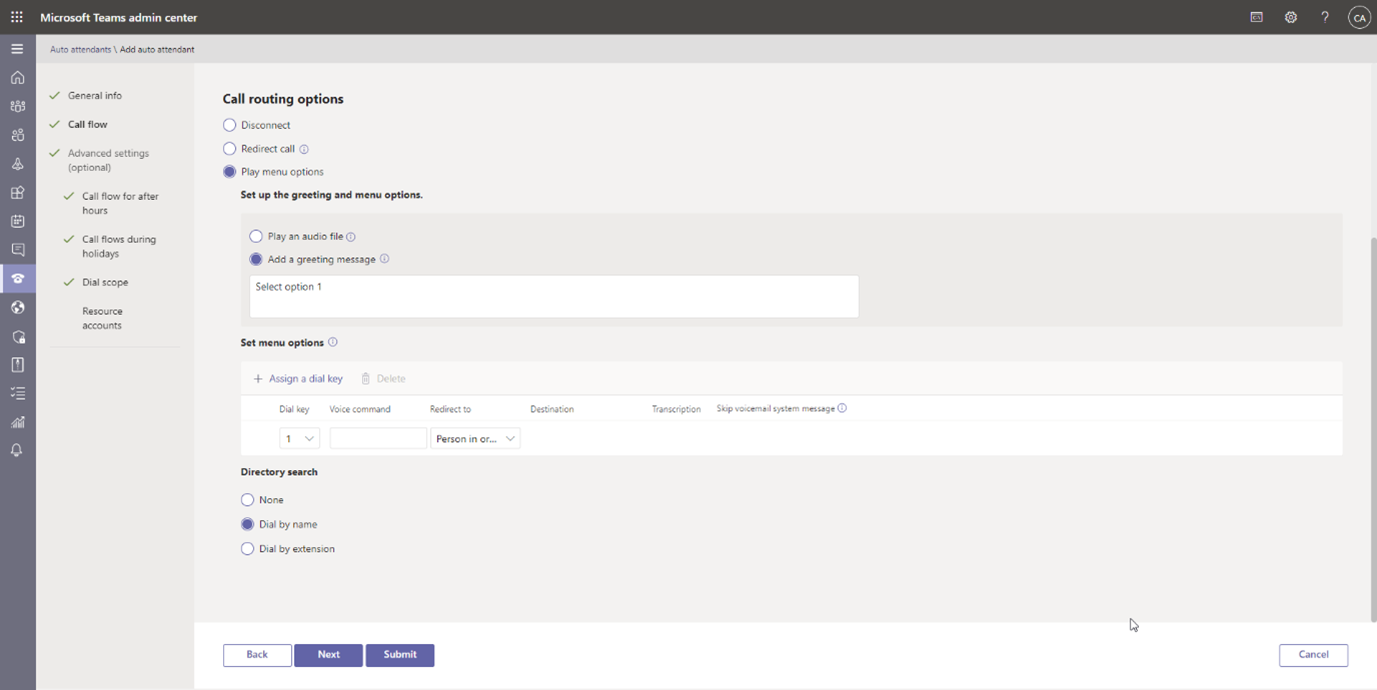
11. Click Next
12. Set Business Hours
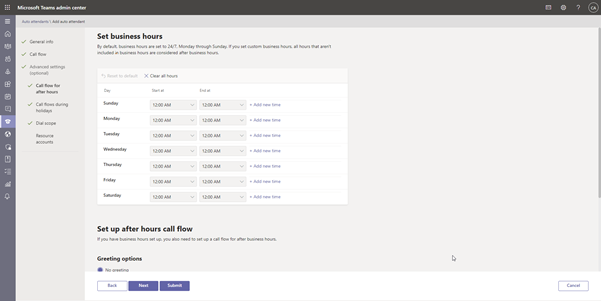
13. Set up After Hours Call Flow
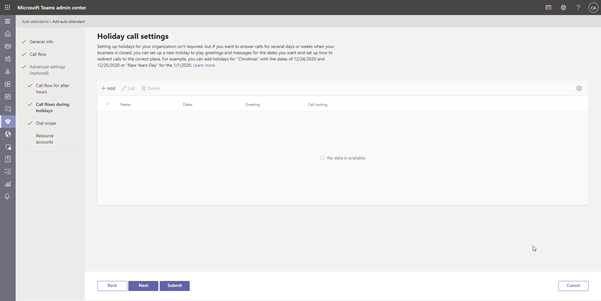
14. Set Holiday Call Settings
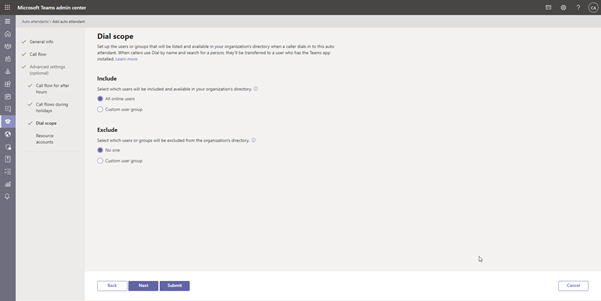
15. Set Dial scope
Default is Include All Online User, Exclude No One
16. Assign Resource accounts
This is used to configure call queues or additional auto attendants.
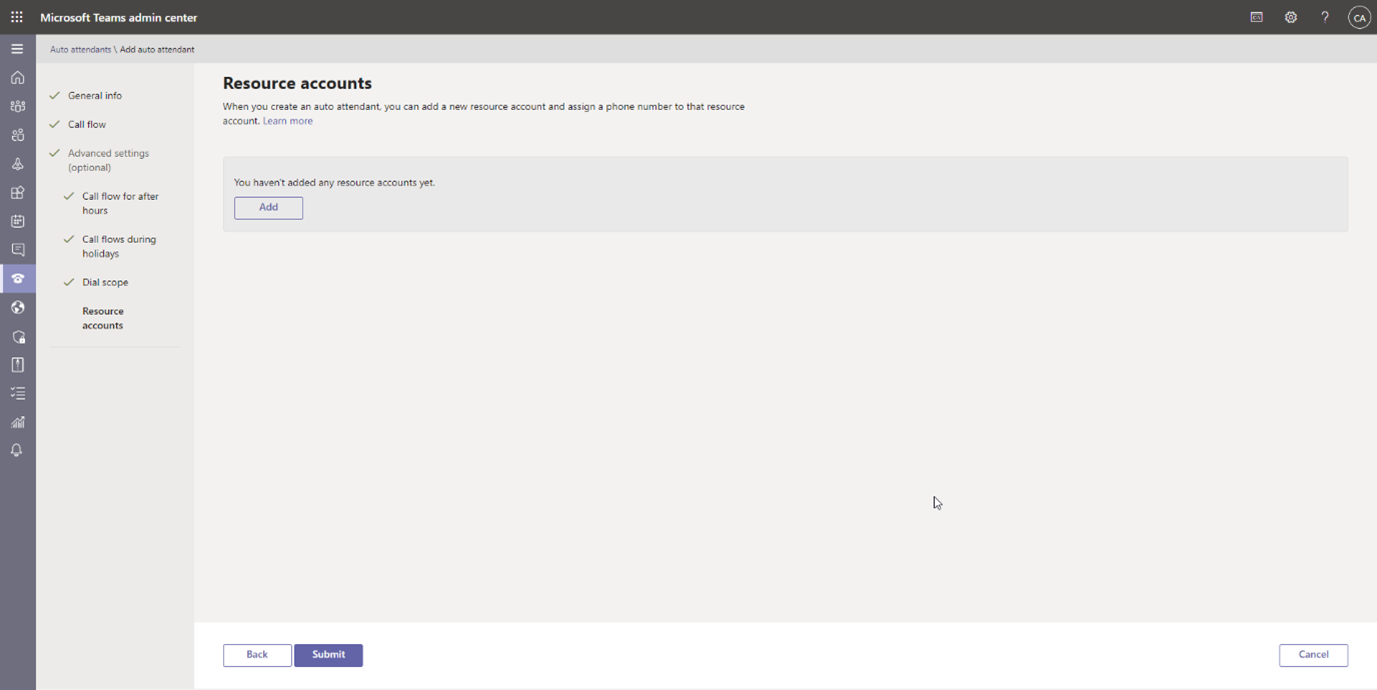
17. Click Submit
Once the Auto Attendant has been created you should be able to call the resource number and reach the designated User / Call Queue.
If you experience any issues or have questions regarding the process above please give Myrtec a call | 02 9146 6330.
We offer a sense of partnership that goes beyond the typical IT experience. Our value starts where to scope of a traditional managed service ends.
We’re not just another faceless IT company. We are all about old school professionalism, which means rather than hiding behind our screens, we’d like to meet you face to face (or virtually if required!).
Let’s organise an initial in-person or online meeting to scope if we’d be a good fit for you.
Copyright Ⓒ 2024 Myrtec All Rights Reserved